
How to Setup Dokku and Custom DNS with DigitalOcean
#dokku #docker #digital-ocean #how-to #devops
In this tutorial, you will be creating a Dokku server using DigitalOcean’s 1-Click App Marketplace.
Creating A Dokku Droplet
If you do not have a DigitalOcean account already you can sign up for one at digitalocean.com . Optionally, you can sign up using this referral URL to get $100 in credit over the next 60 days.
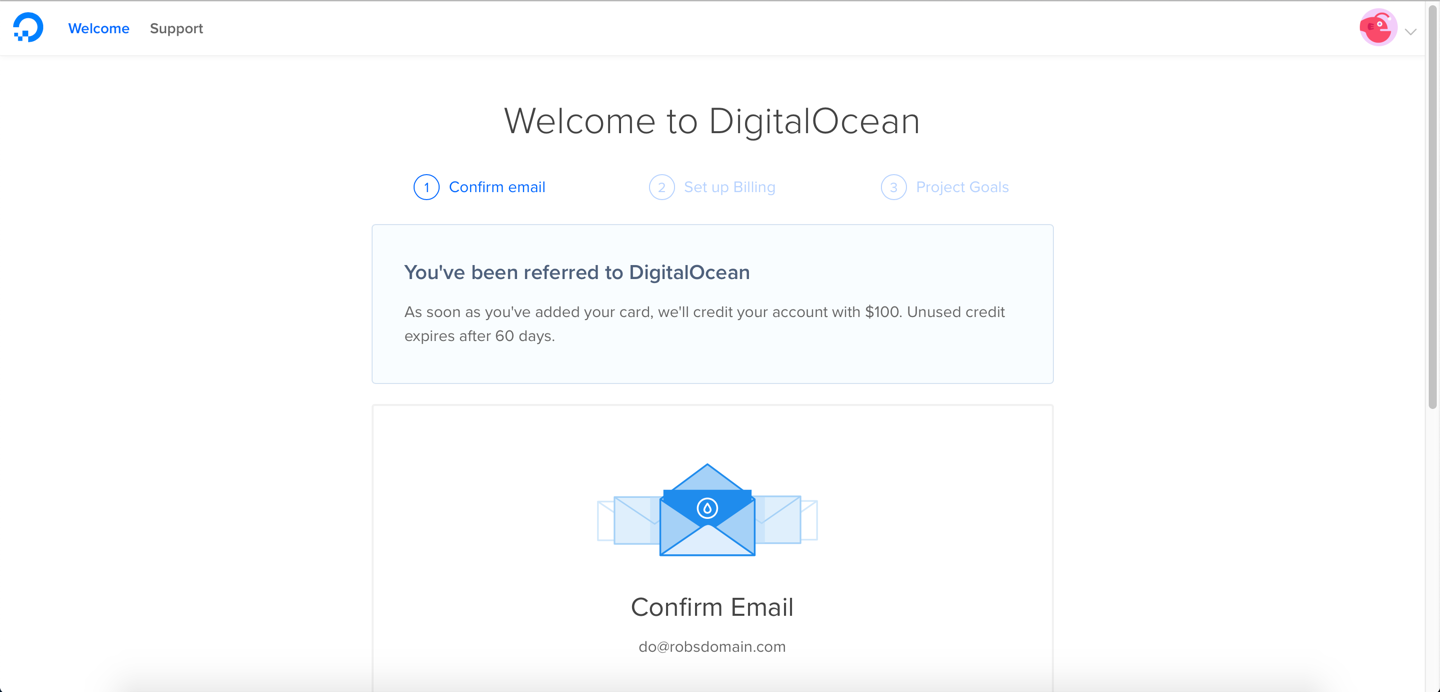
Figure 1: The referral e-mail you will get if you sign up using the affiliate link above
After completing account creation you will be redirected to the dashboard. From here create a project with the “+ New Project” button in the sidebar. Projects are DigitalOcean scheme of collecting and organizing related resources into a unified interface.
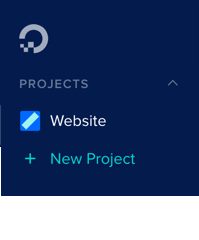
Figure 2: A screenshot of sidebar of DigitalOcean containing the project
Follow the project creation steps in the prompt.
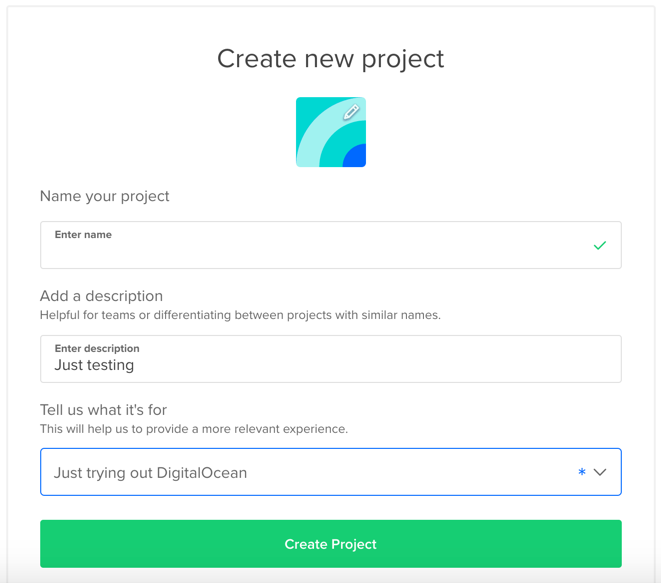
Figure 3: Step 1 in creating a new DigitalOcean project

Figure 4: Step 2 in creating a new DigitalOcean project
After creating a new project, click the landing page’s “Get Started with a Droplet” button to begin building a 1-Click App.
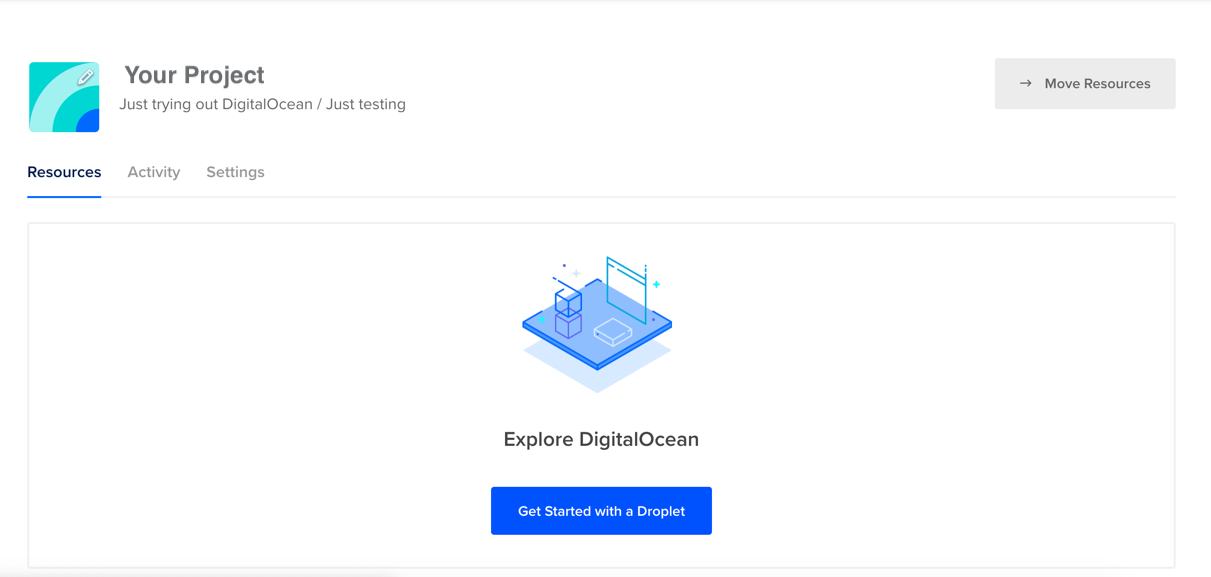
Figure 5: The view of an empty project after creation
The Droplet builder is where the configurations for the new server will need to be specified. Locate the tabs menu below the title “Choose an Image” and click the “Marketplace” option. Unfortunately, the “Recommend for You” does not provide the Dokku image so click the “Select All Marketplace Apps” to load the directory.
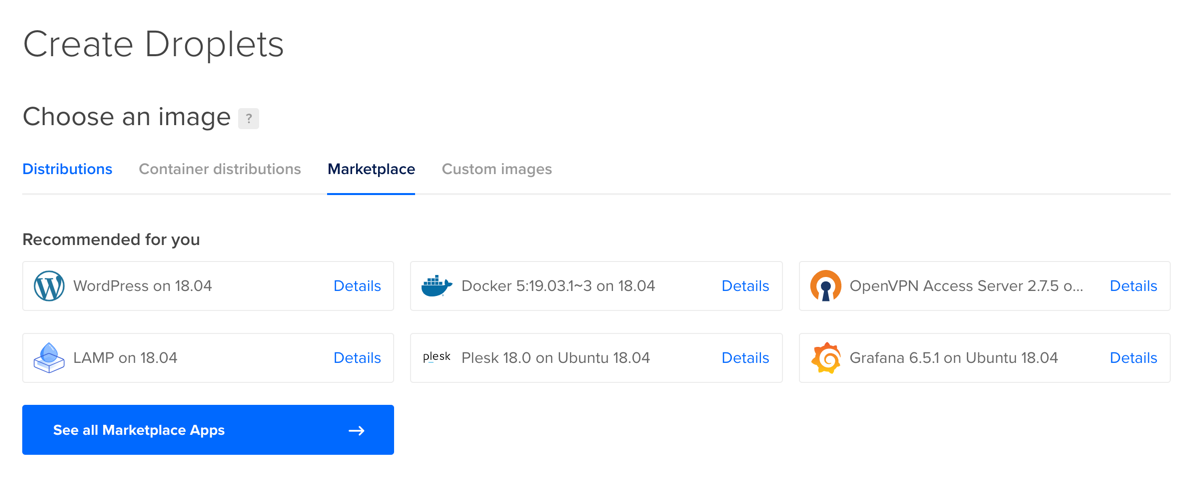
Figure 6: Choosing an image for the Droplet
Locate the Dokku app by scrolling through the directory or using the search bar, then click the tile to load the Dokku image splash screen.
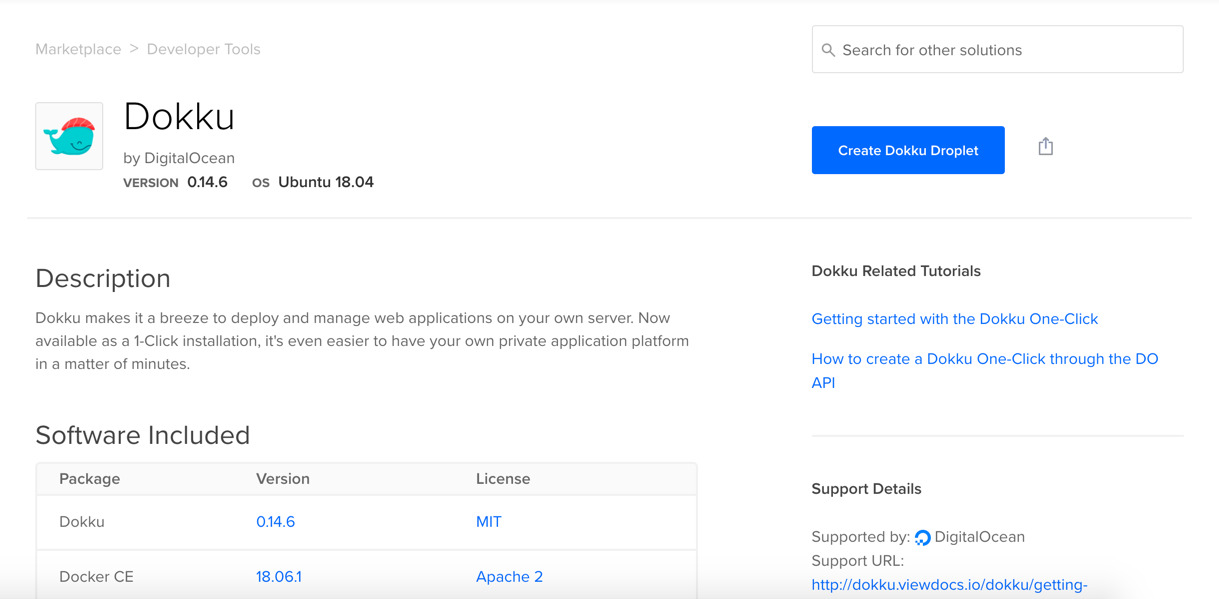
Figure 7: Dokku Droplet 1-Click App image splash screen
Inside the splash screen click the “Create Dokku Droplet” button to load the Dokku image for the Droplet. You will be redirected back to the Droplet builder after selection. Continue configuring by scrolling to the “Choose a Plan” section and selecting “Starter” and $5/month option (it is all the way to the left on the plans section).
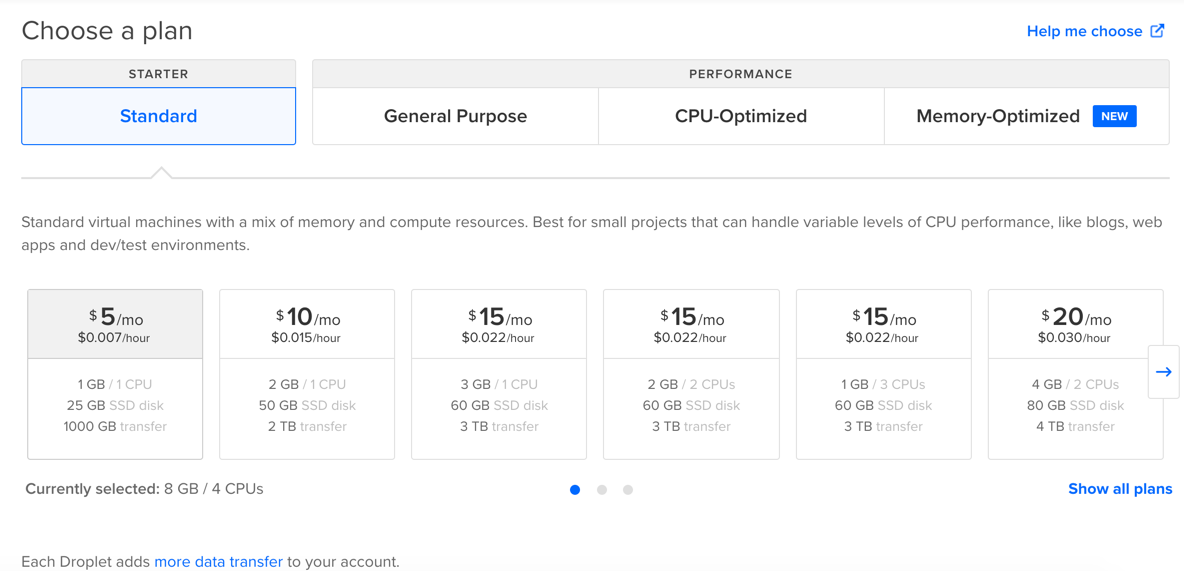
Figure 8: Choosing the $5/mo plan for the Droplet
After configuring the basic parameters of the Droplet scroll to the “Authentication” section of the builder. Here select the SSH Key option and click the “New SSH Key” button.
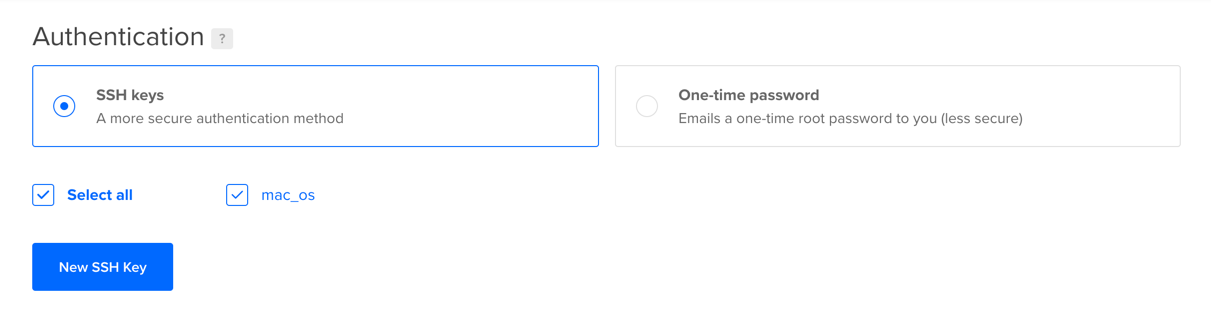
Figure 9: Configuring authentication for the Droplet
To generate an SSH key use the steps below (Mac OSX / Linux), or add your existing SSH Key if desired. (An SSH Key is required to access the new Droplet resource)
ssh-keygen

# Use id_your_domain
Enter file in which to save the key (/Users/USER/.ssh/id_rsa): ~/.ssh/id_your_domain

# Don't add a passphrase for now
Enter passphrase (empty for no passphrase):
Enter same passphrase again:

# Mac OSX: Copy public key contents to pasteboard
pbcopy < ~/.ssh/id_your_domain

# Linux:
# cat ~/.ssh/id_your_domain
# copy output to pasteboard manually
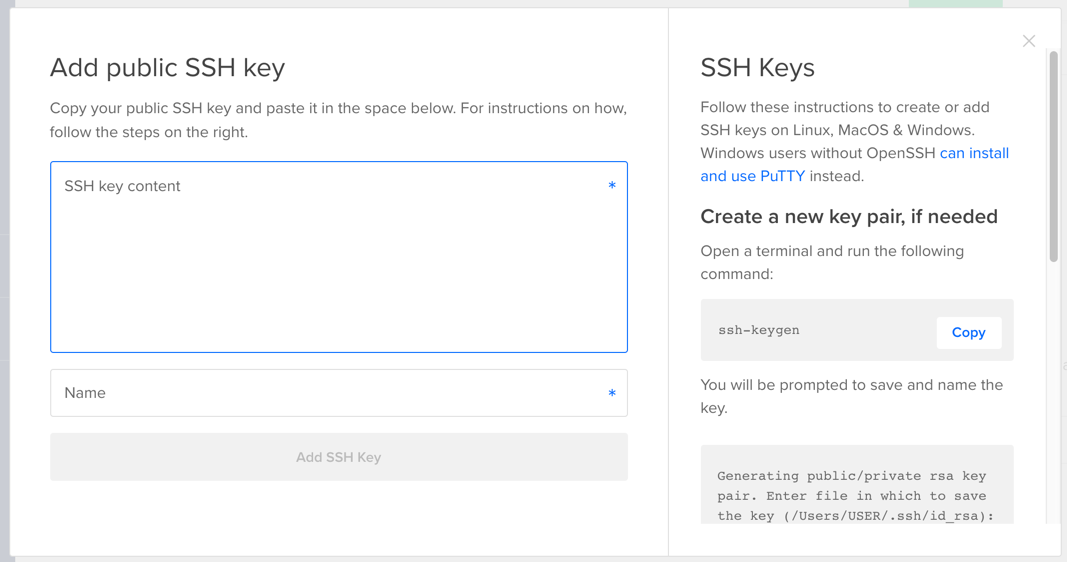
Figure 10: The SSH Key prompt for Droplet authentication
After adding the public key contents to the input field in the prompt and click the “Add SSH Key” button. DigitalOcean will add your SSH key to list of authorized_keys under ~/.ssh/authorized_keys when the Droplet is created. Click “Create Droplet” to complete the setup process.to complete the setup process.to complete the setup process.to complete the setup process.
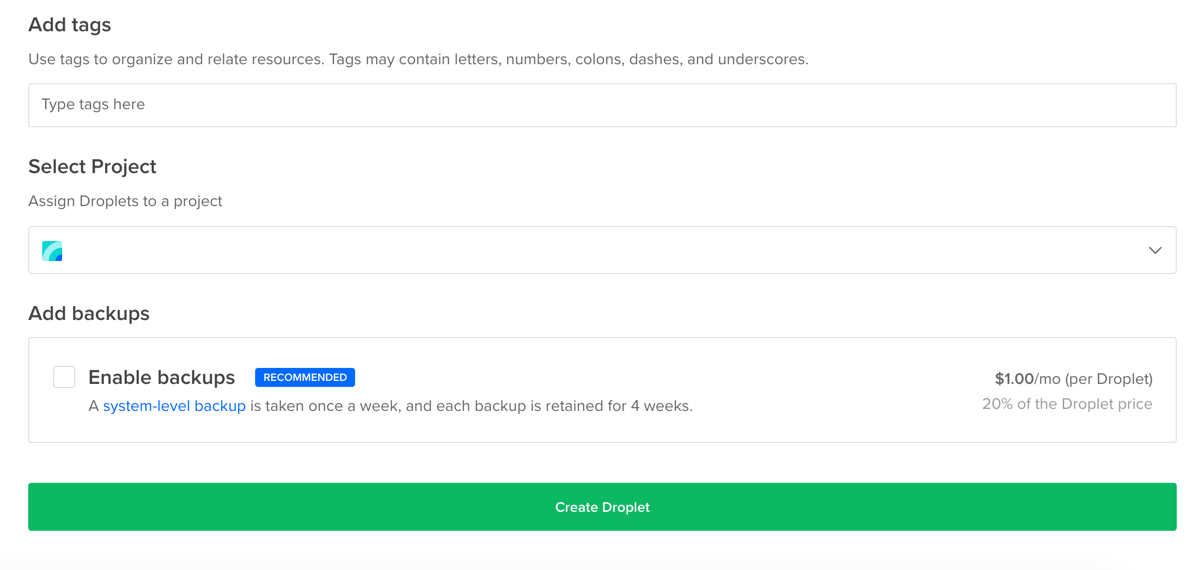
Figure 11: Click Create Droplet to spin up the new Droplet
You will be redirected to a project page and see a progress bar indicating how long until the Droplet is ready. Go make yourself a drink, or just lay back and put your feet up while DigitalOcean chants the magic incantations into the cloud to allocate Dokku server resources. Once the Droplet is ready, there is one additional configuration step to complete the Dokku server setup.
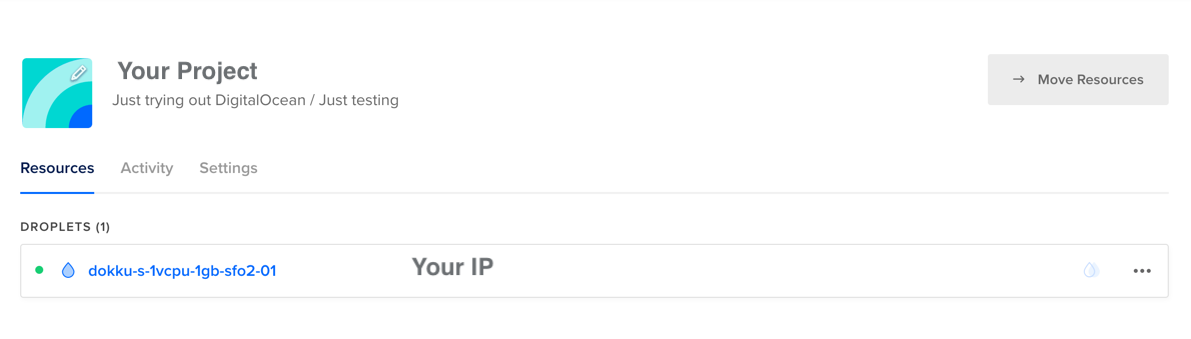
Figure 12: The new Droplet created with an allocated IP address
Copy the IP address for the Droplet into a browser and a form will appear. The form is used to specify configuration options for the Dokku server. Ignoring the Hostname input section for now, select the checkbox “Use virtual host naming for apps”. This option will make Dokku create subdomains for each application deployed to the server. In other words, each app we deploy to the Dokku server will have their own URL: your-app.domain.com.
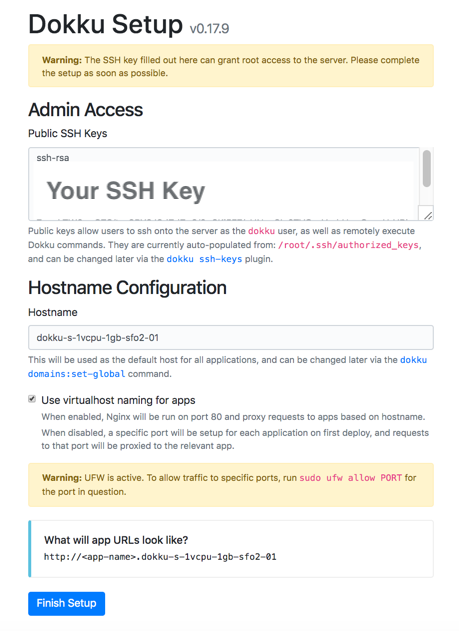
Figure 13: Configuring the Dokku Droplet for the first time - be sure to enable virtual hosts!
Click “Finish Setup” once you have double checked all settings are correct. Dokku will complete the server set up and you can try to SSHing into the Droplet.
ssh root@<DROPLET-IP-ADDRESS>
If everything has worked, you will have a root console at your fingertips.
Setting Up Custom Dokku DNS
To setup Dokku with a custom domain name¹ follow the DigitalOcean quickstart guide to add your domain name to your account using the free DNS tools.
To complete Dokku’s DNS setup you will need to add two A Records (Address Records) to your domain. Recall that an A Record is a concept in DNS where a record maps a domain to an IPv4 address of a computer hosting the domain. An A Record is composed of a name, usually called the “subdomain” and a TTL (Time To Live) value indicating the length of time to cache for a resolver. If you wanted to create a subdomain like app-name.yourdomain.com you would need to create an A Record with the name “app-name” and a TTL value (usually 3600) in your DNS provider’s console.
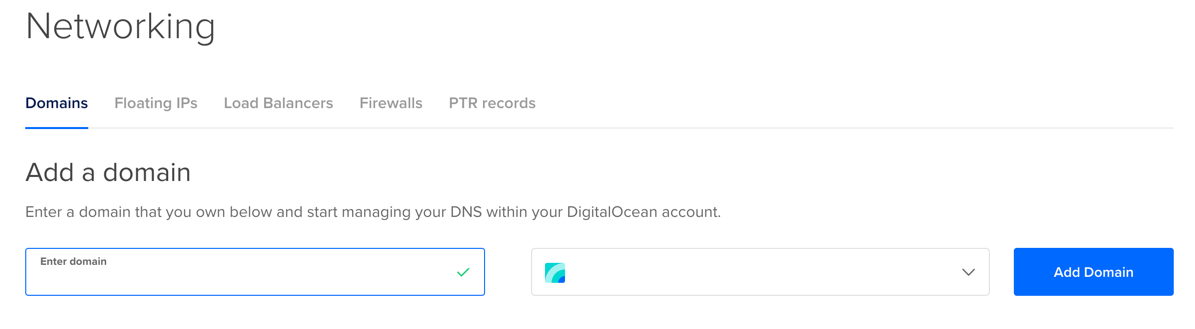
Figure 14: Adding a new domain to DigitalOcean DNS tools
When you get to the “Create new record” step, you will need to add two A Records.
| Type | Hostname | Value | TTL |
|---|---|---|---|
| A | *.yourdomain.com | Put your droplet IP address | 3600 |
| A | yourdomain.com | Put your droplet IP address | 3600 |
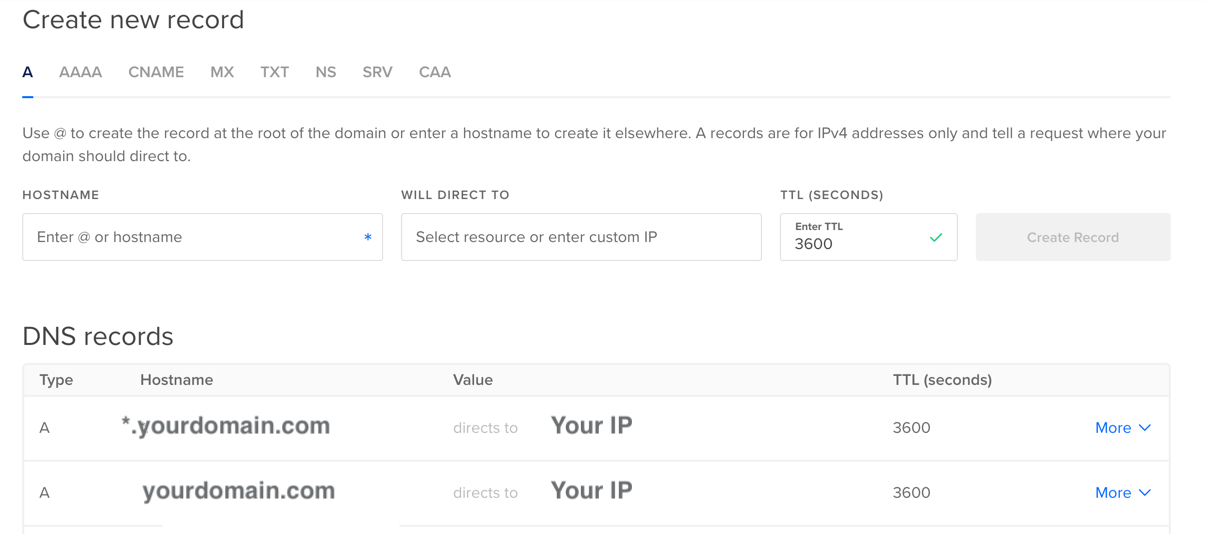
Figure 15: DigitalOcean DNS section after adding the A Records
The “@” A Record maps the root or “no subdomain” domain, i.e yourdomain.com , to the Dokku Droplet. The second wildcard (*) A Record maps any valid url pattern as a subdomain (i.e. app-name.yourdomain.com , app-name.yourdomain.com , app-name.yourdomain.com , etc) to the Droplet.
With A Records created, the final step to finish off DigitalOcean’s DNS configuration is to delegate the domain name by pointing it towards DigitalOcean’s name servers. DigitalOcean provides a comprehensive guide for how to do this using several domain name providers.
With the domain name added, delegated and pointing towards the Droplet, there is a small tweak needed for the Dokku server. SSH into the Droplet and change Dokku’s global name setting. Depending on how quickly the name server propagates changes you might be able to use your domain name, but, if that fails use the Droplet’s IP address to SSH into the server:
# This would be your domain or Droplet IP address
ssh [email protected]
If you get a “public key denied” error try to add your SSH key again by using:
# or whatever you named your SSH key
ssh-add ~/.ssh/id_your_domain
With console access to the Dokku server, clear and add your new domain:
dokku domains:clear-global

# Use your domain instead of "yourdomain.com"
dokku domains:add-global yourdomain.com
dokku domains:report --global
The dokku domains:report ---global command should display results similar to the ones below
=====> Global domains information
       Domains global enabled:        true
       Domains global vhosts:         [yourdomain.com](http://yourdomain.com)
Your domain name is now setup for the Droplet.
A Test Deployment
To perform a test deployment to the Dokku server first SSH into in the server and create an application using the Dokku CLI:
# Use your domain or IP
ssh root@your_domain.com

# With dokku server console
dokku apps:create ruby-getting-started

# ------> Creating ruby-getting-started... done

# Exit the Dokku server
exit
Once the app is created, clone the ruby-getting-started repository.
git clone https://github.com/heroku/ruby-getting-started
cd ruby-getting-started
Dokku enables git deployments via git push through use of build packs (or Dockerfiles where desired) To see this in action, add a remote to the ruby-getting-started repository perform a deployment via git push dokku. Note: the name of the remote must be dokku and the host is your host name.
git remote add dokku [email protected]:ruby-getting-started
git push dokku master
#... output
# ------> Cleaning up...
# ------> Building ruby-getting-started from herokuish...
# ------> Setting config vars
       CURL_CONNECT_TIMEOUT:  90
#... more output
=====> Application deployed:
       <http://ruby-getting-started.yourdomain.com>
Using a browser navigate to the URL provided at the end of the deployment http://ruby-getting-started.yourdomain.com.
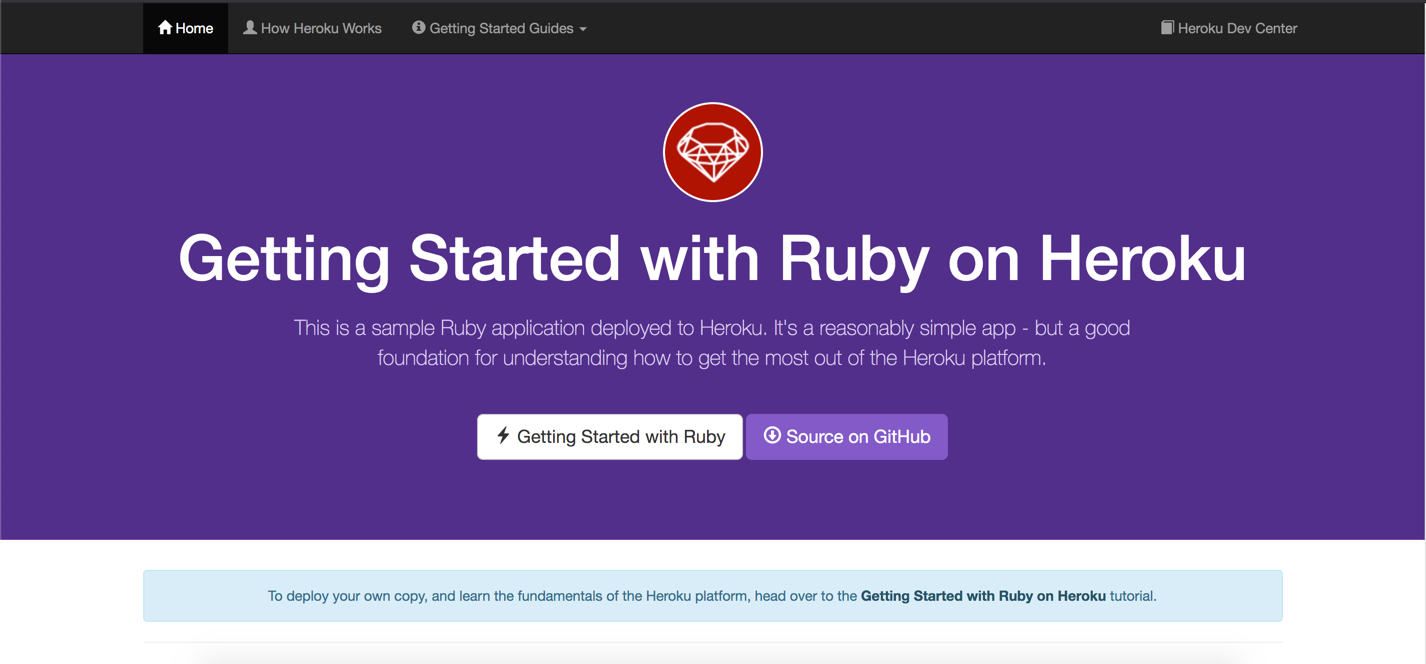
Figure 16: ruby-getting-started page
Great, you’ve validated the Dokku server is up and running! Before you sign off be sure to delete the app created because it is no longer needed.
# Remember to use your domain / ip
ssh [email protected]

# With dokku server console - list the apps available
dokku apps:list

# =====> My Apps
# ruby-getting-started

# the --force prevents dokku from prompting us to confirm the name again
dokku apps:destroy ruby-getting-started --force

# Check the apps again
dokku apps:list

# =====> My Apps
# None!
Footnotes
¹ If you are a student you can sign up for GitHub’s Student Education pack and get a Namecheap domain. If you are an educator you can sign up for the GitHub Educator’s Toolbox and receive promotions for free domains too.
You can set up Dokku locally without using a cloud hosting company like DigitalOcean.
Helpful Links